Do you have any further questions?
Our specialist will contact you shortly and answer all questions regarding Framex.
When removing old windows, it is not always necessary to call a professional. A skilled craftsman can easily dismantle old windows themselves, provided they have the right tools and proper step-by-step instructions.
Depending on whether the window being dismantled is wooden or uPVC, some differences in the dismantling process should be considered. The following instructions and accompanying video will show you in detail how to work with wood and PVC independently and safely.
The right tools are required for each job For dismantling, you will need:
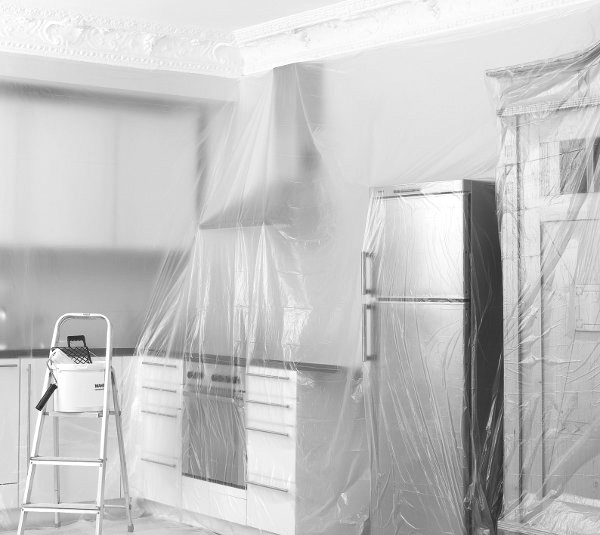
When dismantling windows, there will be a lot of debris and dust, so before removing old wooden windows, it is necessary to prepare the room. To do this, you need to do the following:
Pay attention to safety when dismantling windows! Protect your eyes with safety glasses from flying debris, and your hands with comfortable work gloves.

The sash is the movable part of the window that attaches to the frame It is necessary for the window to have opening sections.

The frame is the main stationary support part around the perimeter of the window, made precisely to the dimensions of a specific window.
The mullion is the divider of the structure Thanks to it, the window has sections that either open or do not open.
Typically, wooden window frames are attached to concrete using nails 150-200 mm in length.

Trim is a narrow, long plank that frames the windows.
A windowsill is a structural element of a window, its horizontal interior part, which is installed either level with the bottom of the frame or directly below it.
A drip cap is an element of the window design that facilitates the free drainage of water from the exterior side of the window.
If there are no plans to preserve the old trim, it will also need to be removed If the trim is plain rather than carved, it can be easily removed by oneself.
For the removal of the sill and the drip cap, force is required. Therefore, we recommend carrying out the rest of the process using personal protective equipment. Try not to damage the house wall or the openings.

After removing the wooden windows, conduct a final inspection and clean the surface of the window frame. By removing any obstructing layers of plaster, you will ensure a smooth ‘entrance’ for installing the new windows.
Attention! The dismantled remnants of window frames are considered construction waste, and leaving them where regular household waste is disposed of is not permissible.
Offenders may be fined It’s better to contact a specialized organization for the disposal of construction waste beforehand. Framex recommends always maintaining cleanliness and order.

When dismantling windows, there will be a lot of debris and dust, so it’s essential to prepare the room before removing the old plastic windows. To do this, follow these steps:
Pay attention to safety during window dismantling. Protect your eyes with safety goggles from flying debris, and your hands with comfortable work gloves.

Sash – the movable part of the window, which is attached to the frame and also consists of a plastic profile It is necessary for the window to have opening parts A modern window can have several opening options: casement, awning, tilt and turn, fixed.
Modern plastic windows are removed quickly and easily compared to older ones. All you need are pliers and a screwdriver.
If there is a tilt-and-turn mechanism, open the sash and adjust it – move the window handle to the open position, and the window to the tilt position. If the window does not have a tilt function, simply open the window sash and remove it from the hinges. And if there is a fixed sash, it is necessary to remove the glass from it.
To remove the glass from the insulated glass unit, carefully use a knife to cut the top layer of sealant. Now gently remove all layers of sealant and reach the aluminum frame of the insulated glass unit. Hook your finger under the top edge of the insulated glass unit, then tilt it towards yourself, shift your hands, and take the insulated glass unit by the sides.

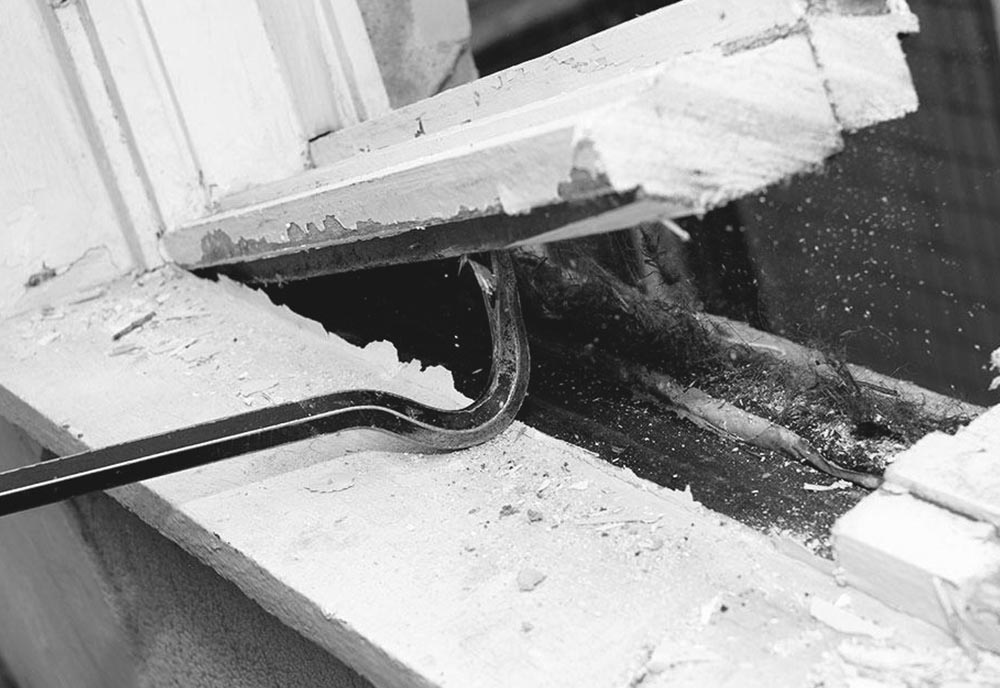
The frame is the main non-moving load-bearing part around the window, precisely manufactured to the dimensions of the specific window. The frame holds the sash and is firmly installed in the opening Here, a crowbar and a sabre saw or a hand router are used.
The frame should be removed after removing the insulated glass units. Once rid of any hazardous components, you can proceed to extract the frame directly:
If there are roller shutters present, unscrew them at the connection points For shutters with a non-removable wall box, simply remove the guide rails.
Windowsill – a structural element of the window, its horizontal inner part, which is laid at the same level as the bottom part of the frame or directly under it.
Drip edge – a component of the window structure responsible for free water drainage from the external side of the window.
The windowsill is often placed on mounting foam. You need to remove the part from the center towards the edge. Apply force to the drip edge, detach it from the surface of the window opening and the applied sealant. If the drip edge was additionally secured with screws or bolts, you need to remove them first, and only then proceed to remove it using brute force.

After the plastic windows are removed, conduct a final inspection and clean the surface of the window opening. By removing any obstructing layers of plaster, you will ensure a smooth ‘entrance’ for installing new windows.
Note! Dismantled remnants of window frames are considered construction waste, and leaving them where regular household waste is disposed of is not permissible.
Offenders may be fined It’s better to contact a specialized organization for the disposal of construction waste beforehand. Framex recommends always maintaining cleanliness and order.

Our specialist will contact you shortly and answer all questions regarding Framex.
Please enter your username or email address. You will receive a link to create a new password via email.